How to create a small world photo
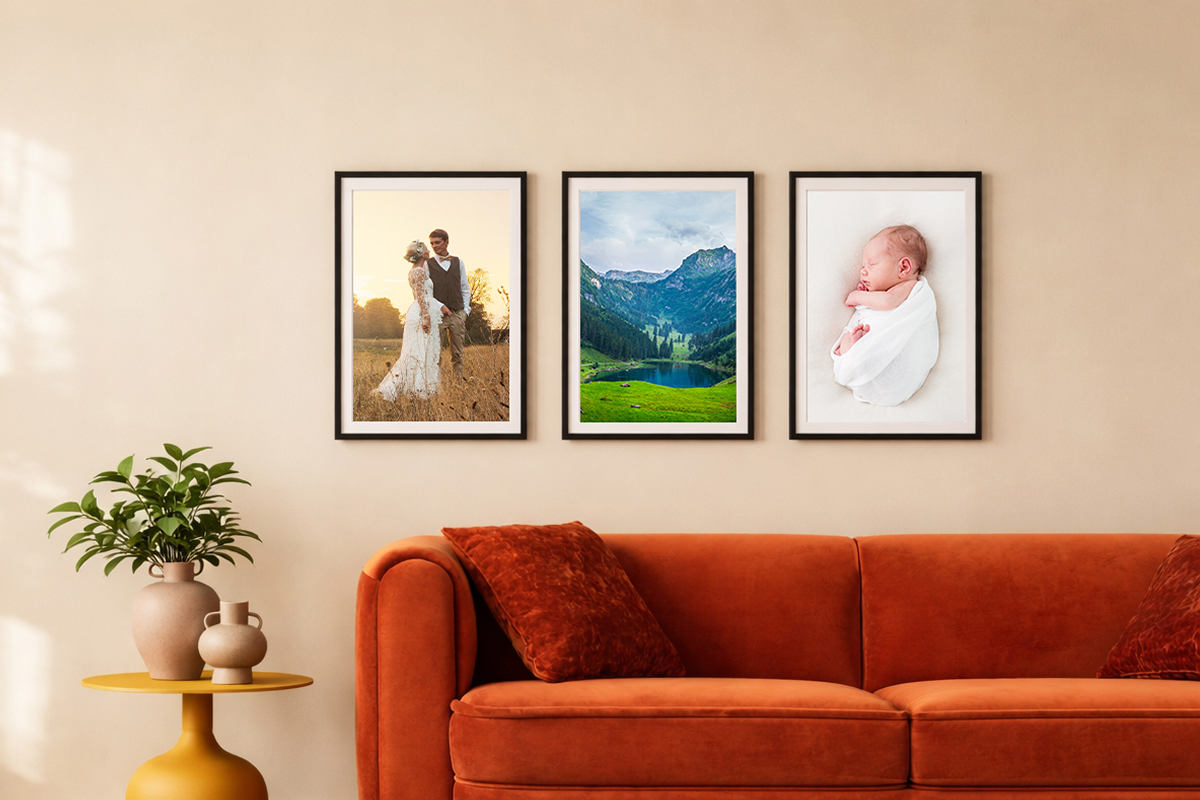
Here at Your Image 2 Canvas we love to see creative photography, and get a real kick out of receiving files from you that show a bit of imagination. If you’re a regular reader of our blog you’ll know that we like to share ideas to freshen up your canvas prints and create dramatic conversation pieces for your walls. With that in mind, this week we’re going to show you how to create a ‘small world’ image.
What is a small world image?
The technical name for this type of image is a circle polyorama, but we think ‘small world’ sounds much cuter. Essentially, it’s a 360° panoramic shot that’s been distorted in Photoshop into a ball-like shape that resembles a planet. Let’s show you how it’s done…
Shooting your scene
Although a tripod is very handy for this method, it’s not absolutely essential – especially if you have a camera with a built-in panoramic setting and image stabilisation. As long as you have steady hands and move slowly through the 360° arch you should be able to get the shots you need. To effectively produce the small world effect your scene must include some sky – we recommend about a third of your chosen view.
It’s essential that you take enough shots to ensure that there are no gaps in your panorama, so err on the side of caution when overlapping as you shoot. Make a note of your starting position in the scene and finish up your 360* rotation by shooting that section again.
That’s it. Now off we go to Photoshop!
Processing
Open up Photoshop and follow this step-by-step process:
Click file à Automate à Photomerge
Click browse and select all of the images you wish to merge
Make sure layout is set to ‘Auto’, source files to ‘Blend Images Together’, and the ‘Geometric
Distortion Correction’ box is ticked
Click ‘Okay’
What you’ll now be looking at is a long rectangular image with broken edges. Yes, it looks awful, but we’re going to fix that next.
Click Ctrl+E to merge all visible layers
Using the rectangular selection tool from the left hand toolbar (it’s under the cursor selection tool) select as much of the image as you can within the broken edges to create a nice clean edge all the way around
Copy and paste this selection to a new blank file
On your new file go to Image à Image size and make the width the same as the height. Unclick the ‘Constrain Proportions’ and click ‘Okay’
You’re probably thinking that something has gone terribly wrong at this point because your picture looks terrible. Don’t worry, though, the magic is about to happen!
Click Image -> Image Rotation -> Flip Canvas Vertically
Then Filter -> Distort -> Polar Coordinates
Click ‘Okay’ and you’re done!
And as if my magic (well, Photoshop trickery) you have a little planet that will look fantastic printed on a big canvas on your wall. You can do this with landscapes, seascapes or cityscapes. Images of cities look particularly good turned into small planets because you can still make out individual buildings and landmarks.