Marvellous macro photography – part 6
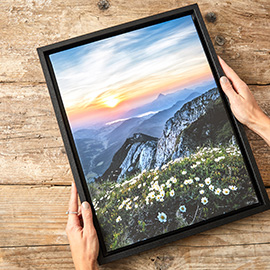
Last week in our series on macro photography we showed you how to use multiple exposures of the same shot, but with different focus points, to increase the depth of field in your images. This week we’re going to provide step-by-step instructions for combining those images in Photoshop so your final picture will look incredible blown up large on
canvas.
The process
There are many ways to perform this task in Photoshop, but our favourite is simple and effective – the perfect combination! Let’s take you through it step-by-step:
1. Make sure that your images for the stack are all in the same folder so Photoshop can find them.
2. Open up Photoshop then go to ‘file’ scroll down to ‘automate’ and then choose ‘photomerge’.
3. Browse to the folder your images sit in and select them.
4. In the ‘photomerge’ box the only tick box that should be selected is “auto”. Make sure that all other boxes are deselected for this task.
5. Press ‘OK’ and let Photoshop do its magic in blending the images together. If you’ve created a deep stack this process may take quite some time.
6. Next we need to select all of the layers by right-clicking on one of them in the layers palette and choosing ‘select similar layers’.
7. Now go back to your ‘edit’ menu and select ‘auto blend layers’ followed by ‘stack images’. It’s worth playing around with the ‘seamless tones and colours’ box to see which gives you the best results.
8. Press ‘OK’ again and wait for Photoshop to do some more magic!
9. Your images should now be aligned and merged successfully.
It really does pay to be as precise as possible when shooting your images to give Photoshop the best chance of creating a clean final picture, but it may be necessary to crop your photo a little or clean up some of the seams between layers using the clone stamp.
Standalone software
This method works well for most images, but if you become serious about your macro photography you might want to deep stack dozens of images with absolute precision. In that case, we prefer a standalone program such as Helicon Focus 6 or Zerene Stacker – both of which allow you total control over every aspect of the process. These powerful solutions will correct focus breathing issues and chromatic aberrations, and allow you to use up to 2,000 images of any size!
