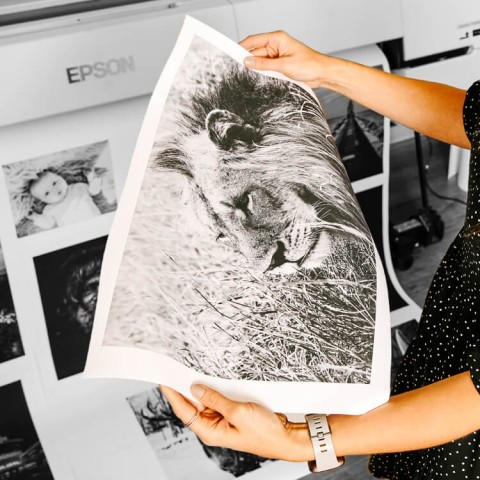
Photographing for print? Advice for amateurs on getting the colours just right...
Novice photographers are often a little disappointed with their initial print output - especially when they’re intending on printing their results onto canvas - but, fortunately, the mistakes we see time and time again are very easy to correct with a little practice.
1 - Get your exposure correct
Modern digital cameras are very smart and will often make a decent attempt at nailing exposure for you, but in high contrast situations you'll need to take control. Your camera will attempt to equalise exposure to 18% grey, which is great unless you have a very strong backlight or, for example, you're shooting snow. The camera sees all that white and does what it's designed to do - create a balanced exposure. Unfortunately, it doesn't understand that snow is supposed to be bright, shiny and white, so these attempts to balance it out results in drab, grey snow. Therefore, you’ll have to dial in some positive exposure compensation or shoot manual.
The same thing will happen in a strongly backlit situation; your camera will look at the whole scene and evaluate that all that lovely bright sunlight is probably the star of the show, and will underexpose the rest of the image resulting in your subjects lovely smiling faces being almost silhouetted. The remedy is the same - dial in some positive exposure compensation.
2 - Get your white balance correct
Light has colour. Ever taken a photo and noticed everything looks a little blue or red? Our eyes are extremely efficient at correcting the colour of the light for us, but your camera can often struggle. If you're shooting indoors with a view to printing a nice canvas for your wall and your auto white balance setting is producing some funky results, you’ll need to take control and help it out.
A grey card and shooting RAW is the answer. RAW images do not have the white balance set so allow non-destructive changes to be made on your computer. Take a test shot with a quality 18% grey card in the scene and in post production, using Lightroom or Photoshop, click on the white balance dropper icon and take a reading from the grey card. This will ensure your prints look the same as your eyes see the scene. If you're not seeing the colour results you expect you will need to move on to rule number three...
3 - Calibrate your monitor
There’s nothing more frustrating than receiving your canvas or prints through the post, opening the package and discovering that despite following the above advice they look nothing like you processed them. More often than not they're too dark and the colours look completely wrong. It’s essential that any photographer who plans to print must calibrate the screen they use to ensure that what they see is what they’ll get. There are a number of very reasonably priced calibration devices on the market these days. Consider one as essential an investment as the latest lens or flashgun - one that will pay for itself very quickly by ensuring your output is perfect.
Follow these three rules and you will soon be adorning your walls with your very own perfectly printed masterpieces!
Tags canvas photography, print on canvas


