How To Size Using Our Online Preview Tool
So you’re ready to put your image on canvas? That’s great – but first let us show you how to make sure that it looks fantastic!
QUALITY
First of all, let’s check the quality of the image.
The best way for us to determine if an image is of a good enough quality to print is to check the file size.
For small prints, up to approximately 12”x16”, the file size needs to be over 500kb.
For medium size prints, from approximately 12”x26” to 25”x30”, the file size needs to be over 1MB.
For larger prints over 30”, the file size needs to over 2MB.
Checking the file size is easy - just follow these simple steps:
Right click on the image
Select ‘Properties’ from the drop down list
A box will open and it will say ‘Size/Size on Disc’: check here and compare the number to the numbers quoted above.
Checking the quality before ordering is crucial to ensure that you receive a canvas that you can really appreciate. Here you can see a comparison of a poor quality image and a good quality image. Note the huge difference in clarity; low quality images lose a lot of the important detail when enlarged – a problem you definitely want to avoid!
If you’re not very confident with computers and you would like some help with this, please feel free to email your image to us at sales@yourimage2canvas.co.uk and one of our experts will check for you.
SIZE
Now we have established that the image is of a good enough quality, here are some hints and tips on how to create a successful order.
First off all, you need to choose the correct size.
If you want to retain the majority of the actual image to display on the canvas, you’ll need to look at the dimensions of the picture you’ve chosen and select a canvas with similar dimensions. Of course you will still need to keep the advice in the quality section in mind when choosing a size, to ensure you will get the right quality at your preferred size.
Here are some examples of sizing a rectangle image, in order to demonstrate how the image translates on different shape dimensions.
SQUARE
First of all we, let’s look at a square canvas:
")
From the example above you can see that a square canvas only allows you to select a portion of the image; the faded areas highlight what would be cropped from the final product. The shape dimensions do not match in this instance and would mean a significant loss from the original picture; if the whole image is required on the front face we would advise a different shape.
However, it’s worth bearing in mind that the image can be moved around, so if there’s a specific section that you would like to focus on instead of the whole image, you can!
An example of an image that fits perfectly on a square canvas is show below:

As you can see, there is no cropping other than at the corners.
PANORAMIC
Now we will look at a panoramic canvas:

From the image above you can see that the picture is too high to be maintained on the front face of the canvas. So in this instance, you’d have to choose to crop a section of the image at the top, bottom, or both.
This option can be ideal if you have a longer width image with a smaller height.
An example of a correct image selection for a panoramic canvas can be seen below:

RECTANGLE
Finally we will look at rectangle:
The image we have been using from the start fits perfectly onto the dimensions of a rectangle canvas as shown above. If you wanted to maintain the whole image on the front face, out of all the size dimensions we have, this would be the most suited as there is no need to crop anything out of the original picture.
PREVIEW TOOL
Now let’s get to grips with the preview tool.
Yourimage2canvas online preview tool
INCORRECT SIZING
If your preview looks like the below image, then the size canvas you have chosen does not correctly fit the dimensions of the image.

There should be no white on the front face of the canvas – so you’d need to zoom into the image until the white space disappears. However, this would incur some cropping of the length; so instead, you can reduce the height to remove the white space.
WRAP TYPES
GALLERY WRAP
A gallery wrap is a method of stretching so that the image on the canvas wraps around the sides; as highlighted below. This does mean some of the image will be lost to the sides of the canvas; you will be able to see how much from the preview.

WHAT HAPPENS IF I LEAVE A SIDE WHITE WHEN I HAVE CHOSEN GALLERY WRAP?
With a gallery wrap you do not have to wrap all sides, if any side is left black this is were we will use our skills and make a side up using elements of the image from the face. This might sound a little confusing but we can have a mixture of mirror wrap and gallery wrap to ensure important items are not lost on the sides but less important can be cropped or lost on the side edges of the canvas There is not an option online the preview will just show a white space, obviously we will not print half a canvas we will make it look perfect for you when the order comes through.
We use our intuitive and our years of editing skills to make up the sides to make a perfect canvas print, firstly when we look at the file, it is obvious they want the family on the face of the canvas including the ladies hair, the mans head and in this case looks like they want the young girls elbow in on the main face of the canvas, we take elements from the main image to manipulate the image to ensure there is no white space, with out cropping important elements of the image, this is how we do all our prints, individually with a personal touch that makes us stand out from the crowd!
Print file ready for printing
If you don’t want to lose any of the image from the front face of the canvas, then you can choose from a variety of other wrap options, such as white wrap, black wrap, colour wrap and mirror wrap.
Read on to find out what each of these mean...
WHITE WRAP
A white wrap is exactly as it sounds: a white edge around the canvas. This means that the image will only be on the front of the canvas and the sides will be left blank.
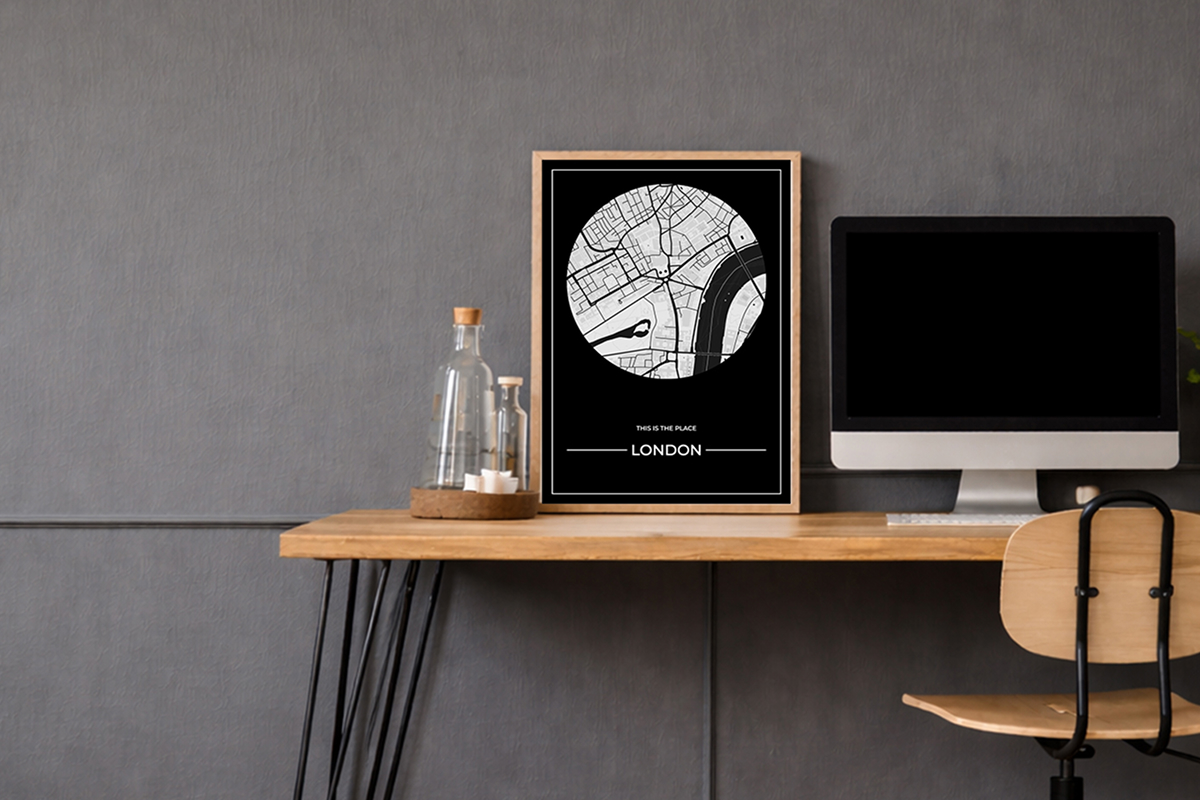
BLACK WRAP
A black wrap is similar to the white wrap; it means that the image will be only on the front face and the edge will be left black, as shown below:
A black wrap works beautifully with black and white images and makes a bold statement, as you can see in the following example:
COLOUR WRAP
A final option if you would like a colour border without losing any of the image from the face, is to ‘colour pick’ from the image itself. This method complements the colours within the image, while staying true to the actual picture:
MIRROR WRAP
If you would like the effect of a gallery wrap but do not want to lose any of the image off of the front face of the canvas, then you can select a mirror wrap. This is where our print team carefully manipulate the image by copying the edge sections then rotating it and using these duplicate selections as the edges. This means that the canvas has an appearance of a gallery wrap without losing any of the image from the front, as you can see below.
Depending on the original picture and its compostion, some mirror wraps are more difficult to get right. For example, look at the chosen positioning of the image below; it highlights to us that anything on the front face is wanted and not to be cropped.
However, here at Your Image 2 Canvas, we like to ensure that the focus of the image is not copied onto the side if at all possible. Using the image below to demonstrate, we would manipulate the bottom and top edges to remove the elements of the image that copy that can be edited out. For example, we removed the copied sections of the top and bottom of the Eiffel Tower, so that what you’re left with is a much better final finish:

Here’s another example of how we would size up a difficult image. The first version shows how the customer has positioned the image:
From the above image we would recognise that the customer would want to maintain the whole image on the front face of the canvas print.
A normal mirror is shown below, this is what most canvas companies would do when you request a mirror wrap.
However, this gives an unprofessional finish, and as it can be avoided, we believe it’s our reponsibility to give our customers the best possible end-product that we can – so what we would do is manuipulate the edges. As you can see below, we have removed the repeats of the subject’s feet on the left and bottom edges, as well as the top of the bridge on the top wrap. As you can see, it instantly looks more professional.
This highlights the extra care and attention that our team puts into each and every canvas that leaves our warehouse. This is ultimately what makes our canvas prints superior, as each print individual print is given bespoke care and attention to ensure your satisfaction.
Well if you got to this point you’ve done great! We know it is quite a lengthy article but we just wanted to show you or more to the point give you some advise on which images work with each size, at least if you understand how the preview tool works it will make it a lot easier for you to get the canvas print you want. Sometimes images just wont work with certain size prints, either due to quality, the original size and the dimensions they want the canvas to be or even down to the wrap type they have choose. We want you to be 100% happy and hang your canvas proudly on your walls for everyone to see! We will only ever do what’s right for the image so the preview tool is only a guide, we get a digital file that you have sized up and interpret what you want. If you have chosen gallery wrap (image continues around the sides) obviously you know that you have just read this great article ;o) but only 3 sides have been covered with the images this lets us know you don’t want that side wrapping, usually due to something important been too close to the edge, this is were we use are intuitive and manipulate that one side so that edge looks like a gallery. We have produced over 100,000 prints, that’s a lot of images and we generally know exactly what the client wants before our digital file loads up to match are printing file to. But of course if you are still in any doubt please feel free to get in touch and one of our experts will get back in contact. If you are happy to have ago please upload your photo and start your order! It really is very easy, just have a play around and have some fun before you order, you never know you might go ahead with a completely different canvas to what you originally had in mind.