Stunning Seascape Photography Tips – Part III
In the third instalment in this series, we'll look at a neat little trick that you can use in post-processing to save you some money on graduated ND filters. This trick won't replace them in all circumstances, but it will allow you to create some great shots that you might have missed without them. The purists may get in a bit of a tizzy over this particular piece of advice, but if all you want to do is hang great canvases on your wall, then read on!
Balancing exposure in Photoshop
Graduated ND filters are the classic method for balancing exposure in seascape photography, but they have their drawbacks. Unless the horizon's dead level, there’ll always be a visible difference in exposure in any areas of the scene that encroach into the darker, upper area, of the filter. This can, to some extent, be corrected in post-processing, but it always feels a little unsatisfactory.
The answer to this is to take two shots and merge them together. Take one shot exposed correctly for the sky, another exposed correctly for the land and sea, and then stitch them together in Photoshop. Here’s a step-by-step guide on how to do it:
Open both images in Photoshop and rename them ‘Sea’ and ‘Sky’
Select the ‘Sky’ image and drag it over the ‘Sea’ image
Add a layer mask to the ‘Sky’ image
Select your brush tool with an opacity of 100% and hardness of 80%
Select your background colour to black
Rub away the foreground
Non-destructive processing
The beauty of this method is that it's non-destructive, so if you get a little sloppy on the horizon and rub away some of the sky, you can switch your background colour to white and brush it back in. This gives you the confidence to get really close to the edges in order to make your final result as realistic as possible. Done properly, nobody will know that it’s actually two shots!
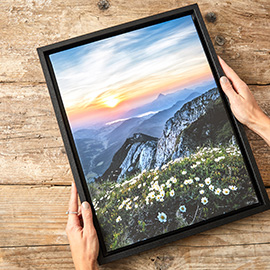
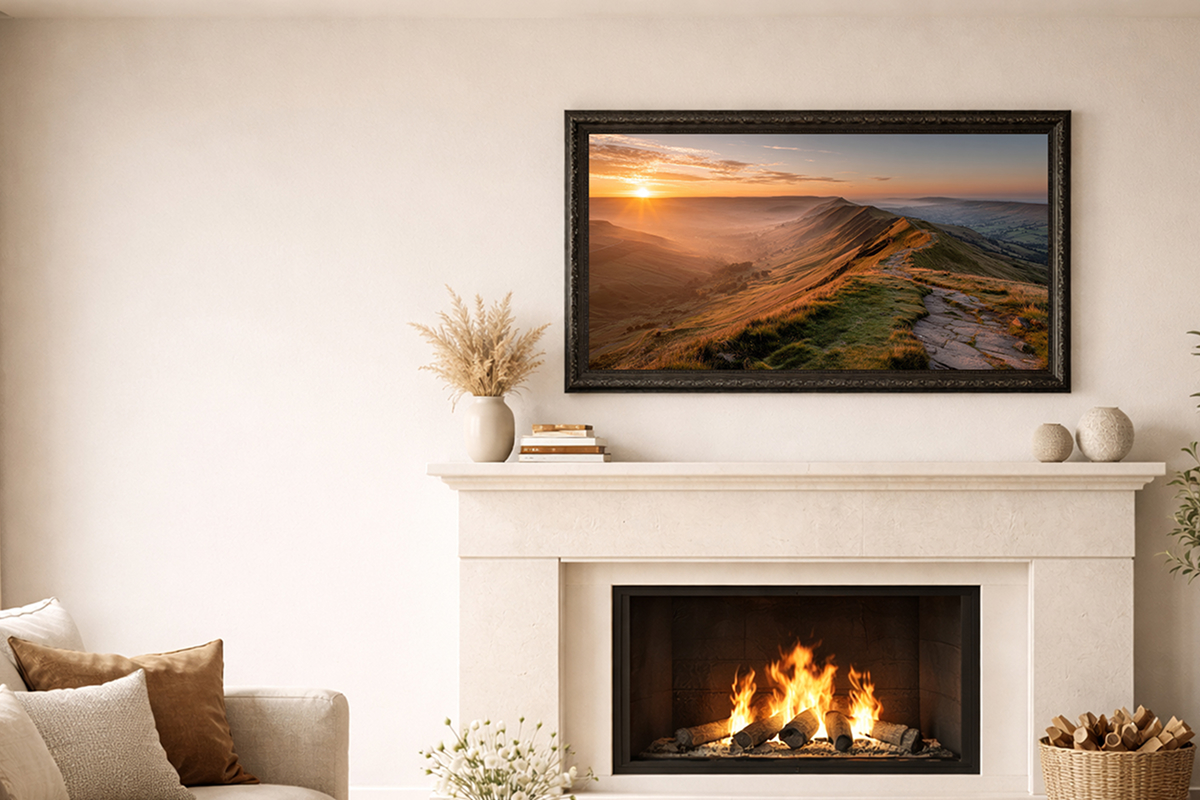
This composite image was shot with a Canon 40D and 10-22mm f/3.5-4.5 USM. There was about 2.5 stops difference in the foreground and the sky exposure, but because of the brightness of the sun, a little more leeway was allowed in the sky.
Next week, in our final instalment of this series, we'll look at the finishing touches you can apply to your images to make sure they translate into high quality canvas prints.
If you're looking to buy photo canvas prints we now offer Saturday delivery!