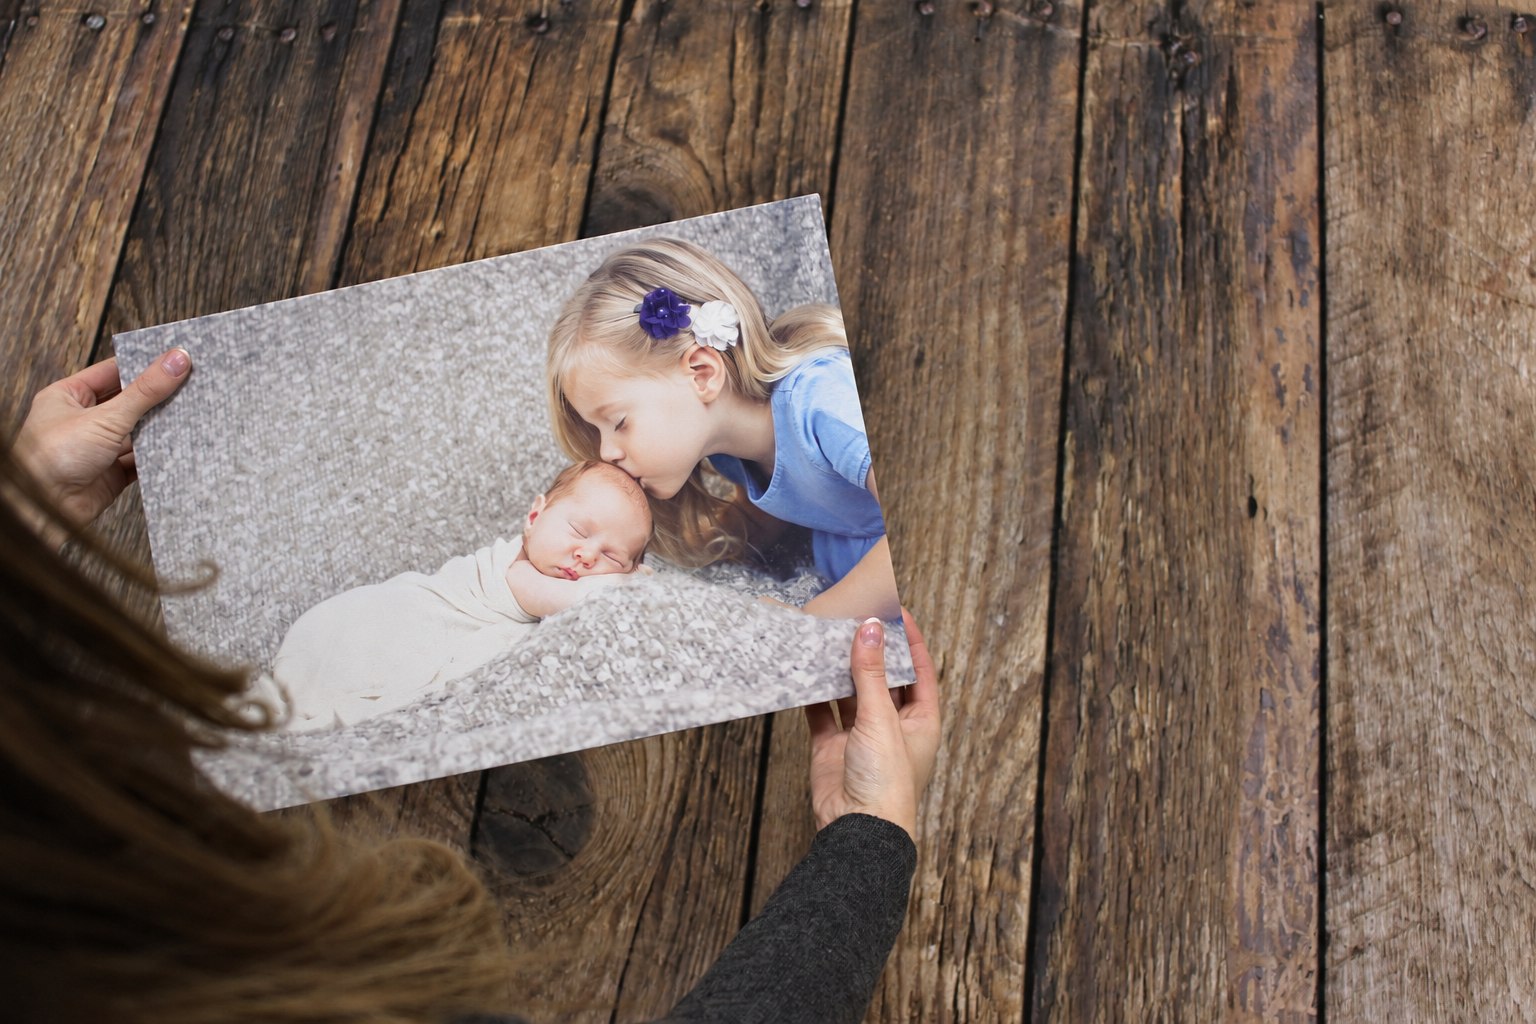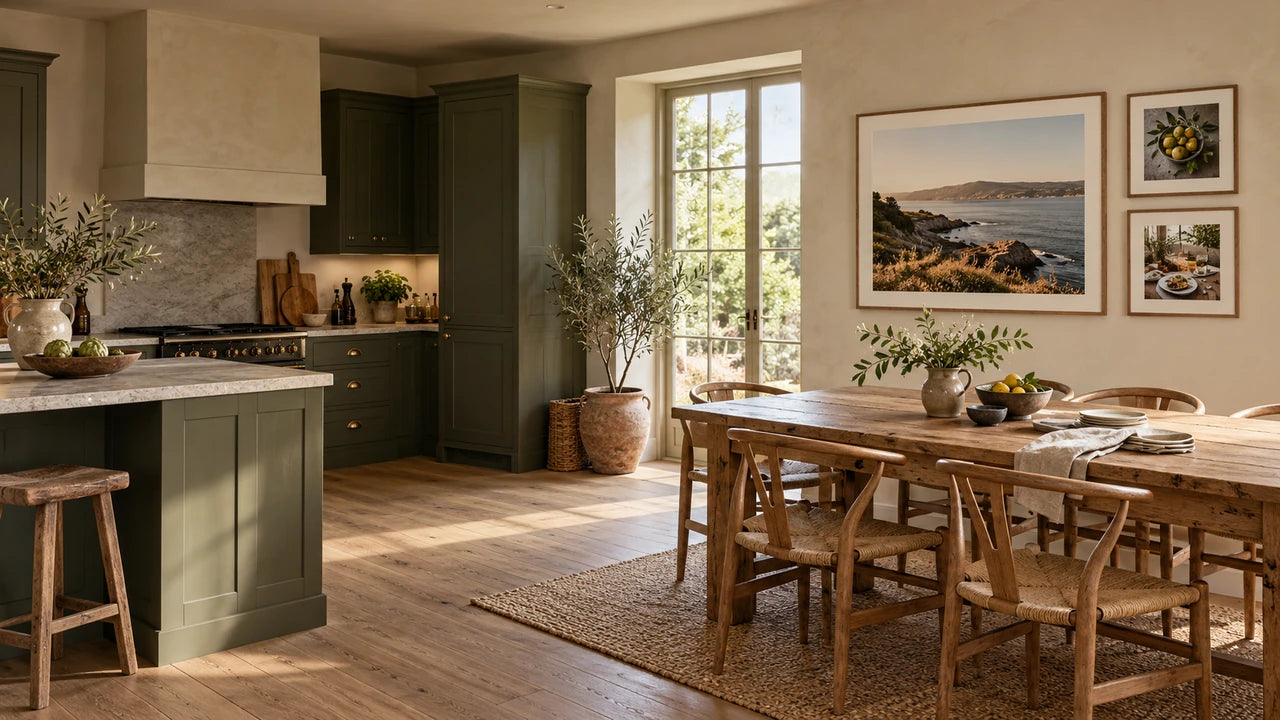
For kitchen wall art, start with a photograph or piece of writing that means something to you, then choose a dry display wall away from cooking heat, steam and splashes. Measure the whole arrangement before you order, including frames and gaps. A kitchen-diner can suit family photographs, food still lifes, your own herbs or a carefully copied handwritten recipe.
The useful question is what you would enjoy seeing while sitting down with a cup of tea. The answer might already be in your camera roll or tucked inside a cookbook. Here are 14 ways to turn those things into a considered display, with the practical checks that make the difference.
Choose the wall before choosing the picture
Look around during an ordinary day of cooking. Where does the kettle send its steam? Which wall gets splashed when you wash up? Does condensation collect anywhere? Keep prints out of those areas, and away from the hob, oven heat and direct strong sunlight.
A dining-end wall, the space above a bench or a quieter wall beside a dresser is often a better starting point. Check door swings, opening cupboards and the movement of chair backs. A spot that looks empty in a photograph may be busy when the room is being used.
There is no single distance from a kettle that makes every print safe. The room, appliance, ventilation and direction of steam all matter. If a wall regularly becomes damp or greasy, choose somewhere else rather than relying on a supposedly tougher finish.
14 personal kitchen wall art ideas to make your own
1. Give one everyday photograph enough space
A familiar moment can make a better large picture than a photograph chosen only because it matches the cupboards. Think of flour-covered hands making bread, a child decorating a cake or somebody carrying breakfast into the garden. Choose a clear moment with a simple background. Try one generous landscape print above a dining bench, with space around it, before deciding you need a whole gallery.
2. Bring an older family photograph into daily life
A picture of relatives around a kitchen table can belong beautifully near your own. Start with a scan of the original print, rather than a photograph of a photograph sent through several chats. Keep the original colour or black-and-white character if that is part of its appeal. Our guide to scanning old photographs for print helps you capture the detail without pretending an old picture has unlimited resolution.
3. Keep the handwriting on a recipe
The crossed-out quantity, uneven lettering or short note in the margin may be the part you value most. Copy the whole page, including a little space around its edges, and inspect the writing before enlarging it. Keep the original safely stored and display a reproduction. For small, fine handwriting, a smooth poster print in your own suitable frame may make more sense than woven canvas. Choose the surface after checking the actual lettering.
4. Photograph an object with a story
A chipped mixing bowl, familiar teapot or inherited set of scales can make a quiet, personal still life. Put it beside a window on a plain surface and photograph it without a cluttered kitchen behind it. Turn the object until the light shows its shape. One print of the bowl and a second of its worn handle can make a thoughtful pair without needing a written explanation on the wall.
5. Use a food memory to choose a landscape
The place where you ate can be the picture. A harbour after fish and chips, a picnic view or the orchard where you picked apples brings a connection to food without filling the room with food imagery. Look through your own travel photographs for one with a clear horizon and enough detail for the intended size. Keep the strongest image larger than any supporting pictures so the display has a clear centre.
6. Make a herb study from what you actually grow
You do not need a specialist botanical collection. A sprig of rosemary, a basil plant on the windowsill or the new leaves on your mint can supply the subject. Photograph the herbs in the same light against the same quiet background. Leave space around each plant and use a similar crop. A pair can be enough for a narrow wall; match their presentation rather than forcing every leaf into an identical shape.
7. Build a three-picture ingredient series
Choose three ingredients with a useful colour relationship: yellow lemons, green herbs and red tomatoes, for example. Photograph each separately with the same background treatment and direction of light. The set feels connected even though each subject is different. Lay the files out together before ordering: one picture with a very dark background can dominate the others. Consider the combined width of all three prints and their gaps, not just the size of one.
8. Try black-and-white texture instead of matching colours
If your kitchen already has strong colour or patterned tiles, look for shape and texture. Garlic skins, the scored crust of a loaf or the shadows cast by pears can work in black and white. Check that the subject separates clearly from the background after conversion. Three similar grey photographs can merge into one flat patch if none has a clear light or dark focus. A single strong image may work better.
9. Give a child's food drawing a proper presentation
A drawing of an enormous strawberry or a favourite birthday cake can be a lovely kitchen picture. Photograph the sheet square-on in even light, keeping all the edges visible. Save a full-size master before trying any background cleanup. Choose a border or generous margin rather than cropping through crayon marks. Our guide to photographing children's artwork covers the capture checks; the child's own marks are the point.
10. Use a phrase your household actually says
A short family saying can be more personal than a ready-made kitchen slogan. Something as simple as “Tea at ours” might carry a connection for you. Keep it brief enough to read from the table and check every letter, date and name. Our Word Art creator offers designs with their own wording positions and options. Look at the live preview rather than assuming it is an unrestricted layout editor.
11. Make a growing-season pair
If you grow food, photograph the same crop at two stages: tomato flowers and the eventual harvest, or an empty raised bed and a basket of vegetables. The connection gives two photographs a reason to sit together. Keep the light and colour reasonably consistent, but let the subjects differ. Leave the year off the artwork if you want to add future seasons without having to reproduce an exact lettering style.
12. Give a morning ritual its own small picture
A favourite cup, the view from your breakfast seat or a quiet photograph of coffee being poured can suit a smaller wall. The image can relate to your coffee corner without hanging above the machine's steam. Try it on the neighbouring dining wall instead. Use a closer crop if the print will be small, and check that an important handle or cup rim will stay on the canvas front.
13. Record the people through their cooking details
You can make a family series without asking everybody to pose. Photograph the things that identify each person's contribution: a familiar apron, carefully crimped pastry, a handwritten shopping list or an overfilled pancake plate. Use a shared viewpoint, such as looking down onto the same table. Choose a small number of strong images. The connection should be enjoyable to notice, rather than requiring visitors to decode a crowded wall.
14. Gather a meal or celebration into one collage
If the whole occasion matters, a collage can hold the people, food and setting in one print. Choose a clear leading photograph, then a few supporting details. Avoid giving a tiny place setting as much space as the photograph of everyone together unless that is deliberate. Our photo collage creator lets you combine images; check each crop separately, especially faces close to the edge of an individual panel.
Copy a handwritten recipe carefully
Put the page flat where you can light it evenly. If it is fragile or bound into a book, do not force it flat just to use a scanner. A careful phone photograph may be the more sensible route. Keep the camera parallel to the page, include every edge and move your own shadow out of the way. Check for glare before taking the final photograph.
For a scanner, choose a resolution appropriate to the enlargement rather than accepting a tiny email-size file. For either method, open the saved image and inspect the smallest handwriting at full size. Check faint pencil, punctuation and fractions: losing a small mark can change what the page says.
Save a master before cropping or adjusting brightness. Straightening a page or gently balancing its colour is different from asking AI to recreate the handwriting. A generated recreation can change letters and quantities. If the original writing matters, compare every line after any edit. The sample card pictured here is an illustration, not somebody's family document or a tested recipe.
Work out the size of the whole display
Measure the usable wall, then decide how much clear space you want around the arrangement. Treat a pair or trio as one overall shape. A furniture-width rule can be a starting idea, but it should not override a light switch, a doorway or the way people use the room.
Here are three width calculations using the print face only:
| Arrangement | Total width | Height |
|---|---|---|
| One A2 landscape print | 59.4cm | 42cm |
| Two A3 portrait prints, with a 6cm gap | 65.4cm | 42cm |
| Three A3 portrait prints, with two 5cm gaps | 99.1cm | 42cm |
An outer frame or mount changes those measurements. Add the actual outside dimensions before cutting templates. Our canvas and poster size guide explains print sizes, orientation and frame measurements.
Cut paper to the intended outside size and try it on the wall with a temporary fixing suitable for your surface. Check it from the doorway and while seated. Open the cupboards and pull the chairs out. Test at night as well as in daylight, then adjust the spacing before marking permanent fixing points.
Choose a surface that suits the picture and the room
Canvas has a woven texture and a visible side. Our canvas prints use 230gsm matte poly-cotton stretched by hand over solid pine. That can suit a food still life, family photograph or larger botanical image. Important writing and faces need to stay clear of the chosen edge wrap.
A smooth photo poster is another option, particularly for a detailed recipe or artwork you want to put in your own frame. Our posters are supplied unframed. Choose any frame and protective cover for the conditions where it will hang; a glazed frame is not automatically sealed against kitchen moisture.
The room matters as much as the material. Neither an outer frame nor a deeper canvas makes a print steamproof, heatproof or a washable splashback. If the only available space is directly in the cooking or splash zone, a different wall is the better choice.
Hanging and looking after kitchen prints
Choose fixings appropriate to the wall, the finished weight and the hanging arrangement. A hanging kit is an optional extra on our canvases, and it does not determine which wall fixing you need. Check for services before drilling and follow the fixing maker's instructions. For the practical steps, see how to hang a canvas print.
Keep canvas away from moisture and clean it gently with a soft, dry duster. Do not scrub the printed surface, spray it with kitchen cleaner or attempt to wipe away grease with a wet cloth. If marks appear, ask us before trying a cleaning product. Follow the maker's instructions for any separate frame or glazing.
It is easier to choose a quieter wall at the start than to clean a print that has spent months catching cooking residue. Keep an eye on the location as seasons change: a wall that stayed dry in summer may collect condensation in winter.
Kitchen wall art questions
Can canvas prints go in a kitchen?
A dry dining area or quieter kitchen wall can be suitable. Choose the location around the actual heat, steam, splashes and condensation in your room. Keep canvas out of direct cooking and washing-up areas. We do not describe our canvas as waterproof, heatproof or steamproof, so do not use a print as a splashback.
What can I print for personal kitchen wall art?
Your own family photographs, food pictures, herb studies, children's artwork and a careful reproduction of a handwritten recipe can all work. Choose something you want to see daily, then check the file, size and crop. You can use one picture, make a connected series or combine several images in a collage.
Is canvas or a poster better for a handwritten recipe?
Inspect the writing first. Fine pencil, tiny fractions and closely spaced lines may be easier to read on smooth paper than within a woven canvas surface. A poster in your own frame can be useful for that reason. Leave a margin, check the intended reading distance and use a good scan or photograph of the original.
How big should kitchen wall art be?
Start with the usable wall and the furniture below it, then test the outside size with paper. For several prints, add every print width and every gap; include frames and mounts. Consider the view from a chair as well as the doorway. There is no single size or furniture-width percentage that suits every kitchen.
Does the artwork have to match the cupboards?
No. Repeating one colour, a timber tone or a consistent frame finish can connect a display to the room without matching everything. A warm family photograph can sit well in a cool-coloured kitchen. Judge the actual images together under your room's lighting, rather than choosing only from a small online colour swatch.
How far from a kettle or hob should I hang a print?
There is no universal safe clearance for decorative prints. Steam direction, heat, ventilation and appliance use differ. Keep the artwork outside the affected area, follow appliance installation clearances and choose another wall if the surface becomes damp, hot or greasy. A dining wall is often a more practical starting point than the cooking run.
Can I clean a kitchen canvas with a damp cloth?
Use gentle dry dusting for our canvas rather than wet cleaning or kitchen sprays. Avoid rubbing the surface. If it has become marked, contact us before trying to remove it with a product. Different frame and glazing materials need their own care instructions, so do not assume a cleaner suitable for tiles is suitable for a picture.
Can I use adhesive picture strips in a kitchen?
Check the exact product instructions against your print, wall finish, weight and room conditions. Adhesive products have specific preparation, temperature, humidity and removal requirements. They are not a universal no-damage solution. If you cannot confirm suitability, use an appropriate mechanical fixing or get advice before hanging the finished piece.
You do not need to fill every space. Start with one photograph, recipe or small set you care about, get the scale and position right, and let the room tell you whether it needs more. When you are ready, explore our canvas prints and check the live preview before ordering.